Everything in CiteProof starts with your site. Connecting it takes a minute; filling in your business profile takes a little longer but improves every result that follows.
Add the domain
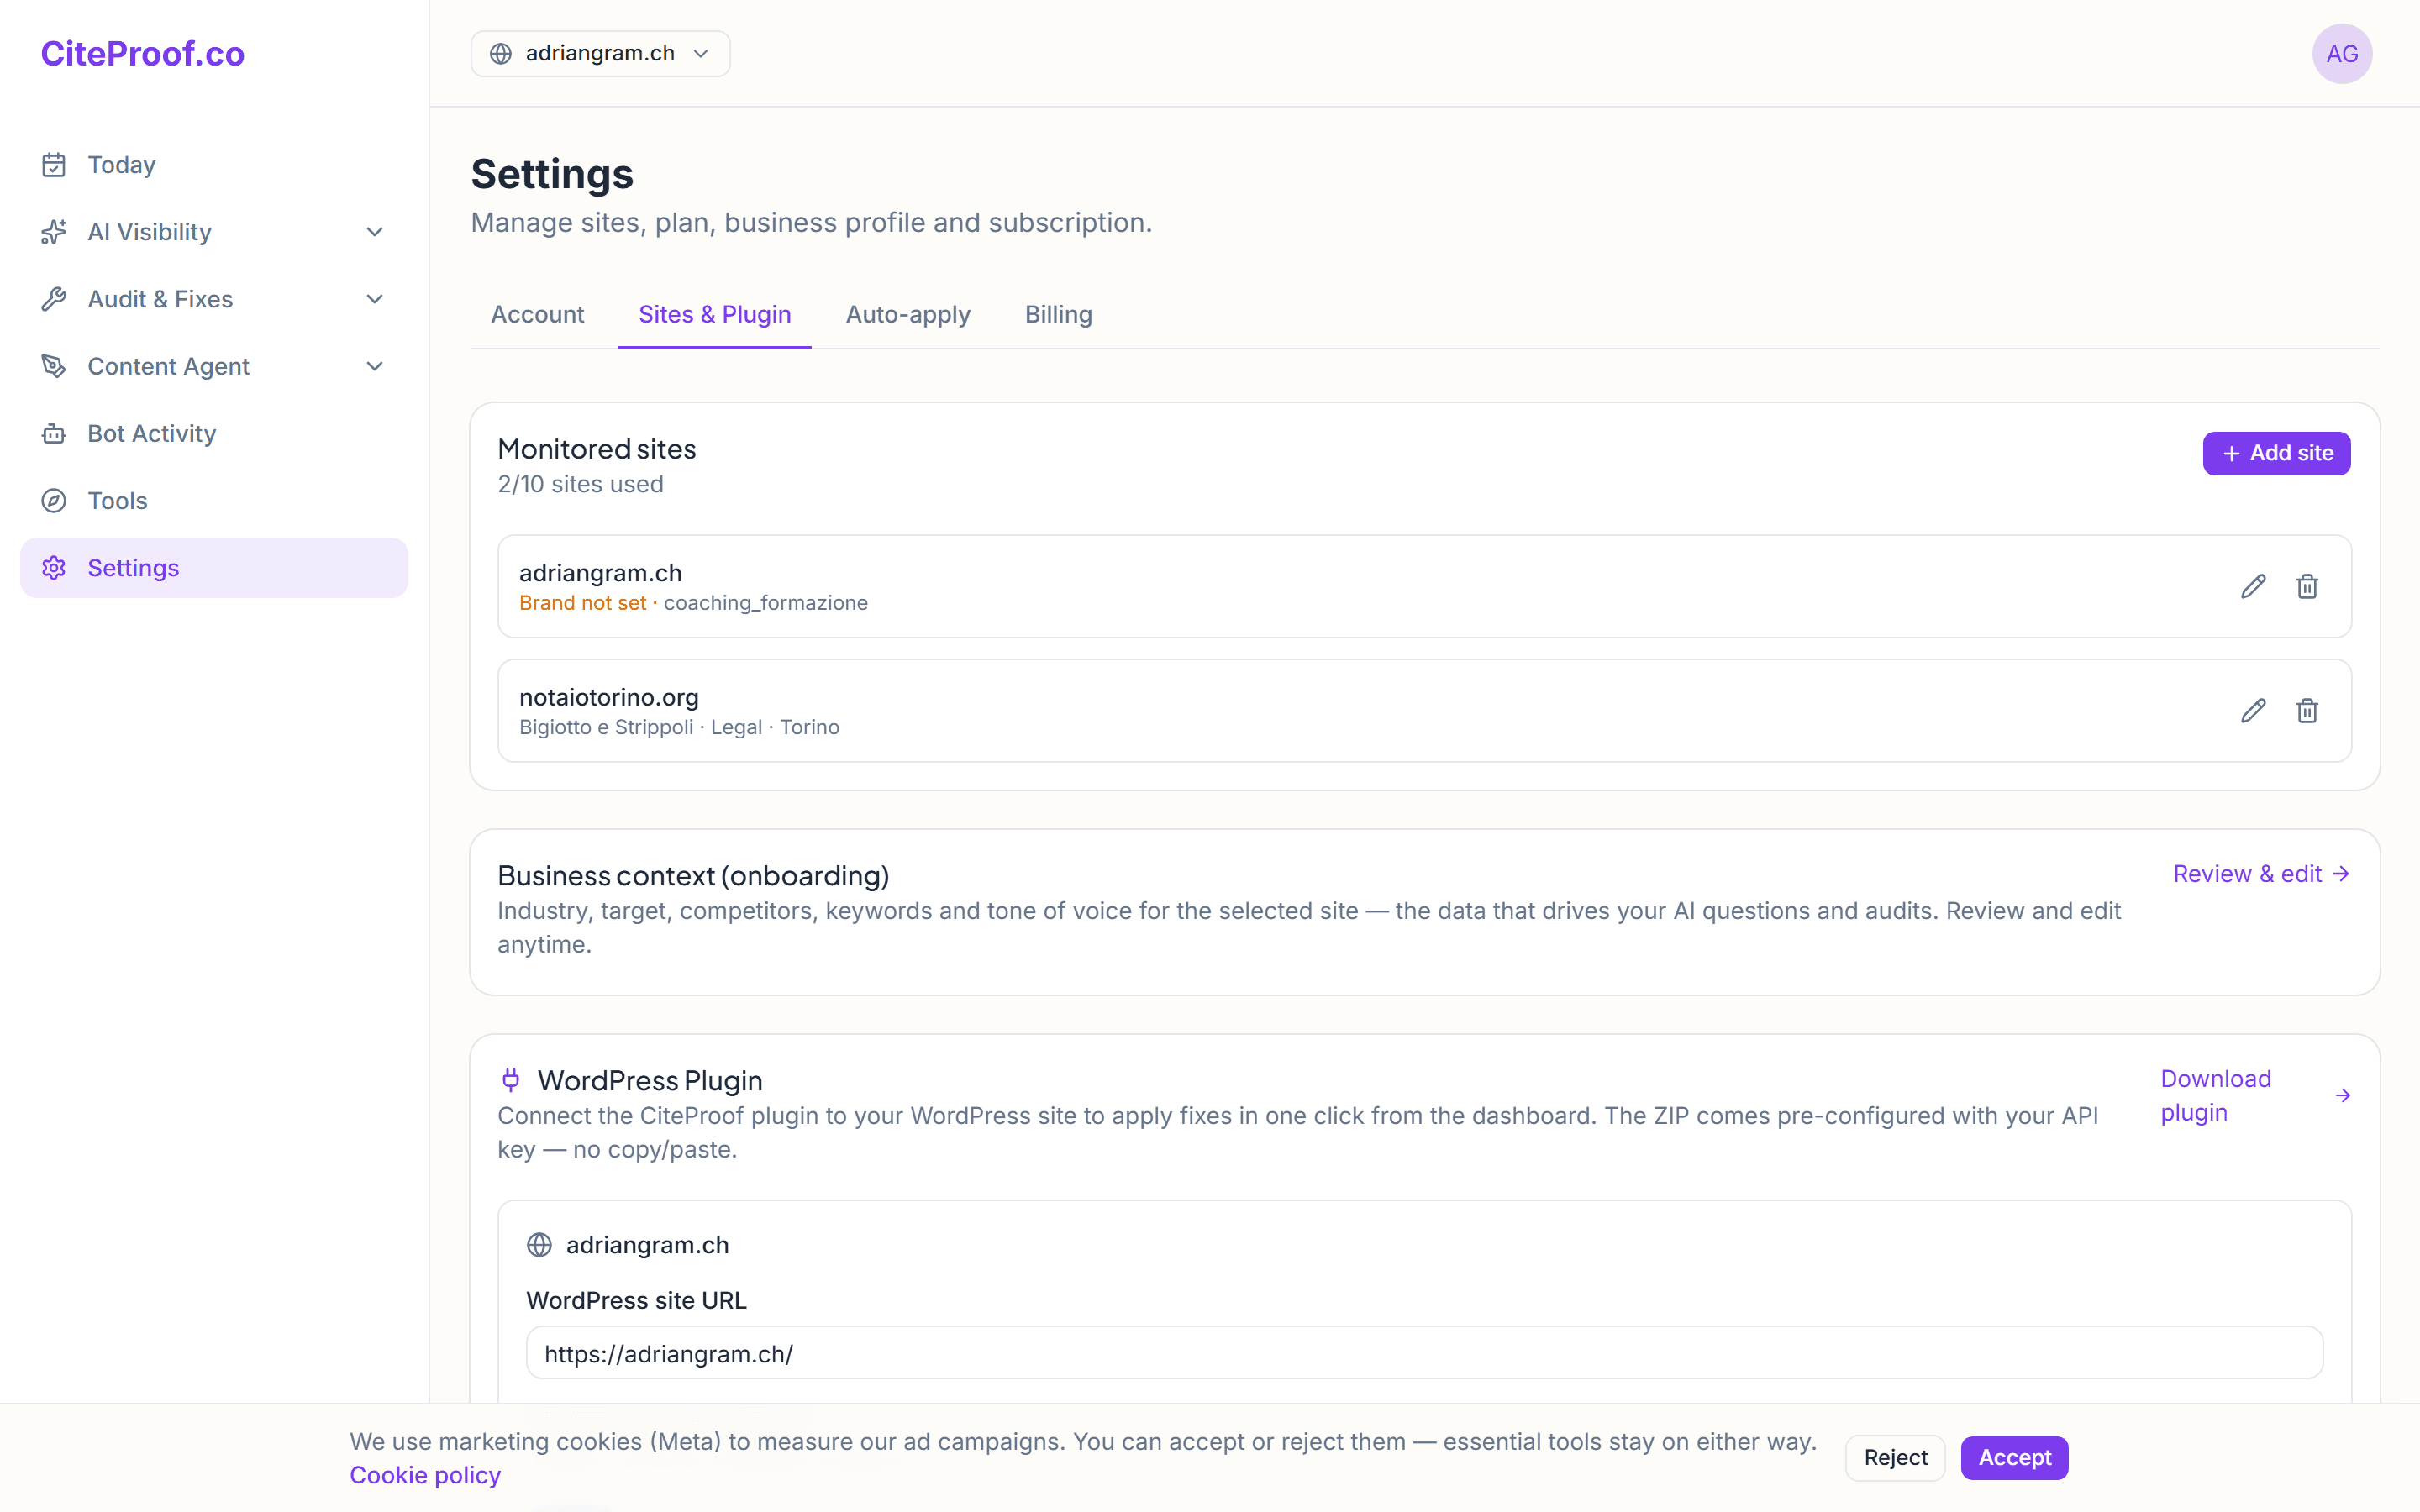
Go to Settings → Sites, press Add site and enter your domain (e.g. yoursite.com). CiteProof creates the site, selects it as active in the sidebar and starts the first visibility audit by itself. On a paid plan the Content Agent's brand profile is prepared at the same time (it takes a few minutes).
On a paying account, the dashboard then opens a short five-step sheet: who you are, what you offer, direct competitors (optional), keywords and questions, confirm. It anchors the questions asked to the AI engines to your real audience; you can skip it and complete it later from the business sheet.
In the same tab pick the site's industry and language: the industry decides which questions CiteProof asks the AI engines (fifty per industry, in English or Italian depending on the language), so it is worth choosing carefully.
Fill in your business profile
The business profile collects your real business details: legal name, address, phone, business type, service areas, social links and common customer questions.
This isn't busywork — the data is reused across the platform:
- to generate the correct structured data (instead of placeholders to fill in),
- to enrich FAQ research results with your typical questions,
- to give the agents context when they analyze and write.
The more complete the profile, the more relevant the suggestions and content.
Three facts have one home and win over what you type in the profile: the industry (Settings → Sites), the catalogue of products and services (the business sheet: Settings → Sites → Open the sheet) and the competitors (Competitors page). Update them there and the questions asked to the engines follow, with no second edit in the profile.
Connect your platform
The fixes reach your site through a connection that depends on the platform. CiteProof detects it when you add the site; if it guessed wrong or doesn't know yet, set it in the Platform menu of the site in Settings → Sites: you then see only the matching connection method.
- WordPress: install the CiteProof plugin from Settings → Plugin: the ZIP already carries the site's key. With the plugin, fixes are applied from WordPress, the fact sheet travels both ways and the dashboard sees the AI crawler visits. The step-by-step guide is Install and connect the WordPress plugin.
- Shopify: install the CiteProof app on the store, then in the app open Plan and credits → Attach to an existing account and pick this site. Alternatively, in the site's Shopify store card, enter the myshopify domain and press Connect Shopify to ask Shopify for permission directly. See Installing the Shopify app.
- Wix: install the CiteProof app from the Wix App Market. If you start from Wix, you don't need to add the site here first: installing the app creates the account and the site by itself. If you already have a CiteProof account, link the Wix site to it from the app. See Installing the Wix app and Link your Wix site to your CiteProof account.
- Any other platform (Squarespace, Webflow, a custom site and so on): the site shows a Connect card: press Open the connection options and choose the static HTML block, the snippet or the Cloudflare Worker that serves the fixes.
What if I manage multiple sites?
You can add multiple domains; each site has its own profile, audits and content. The number of sites depends on your plan.
Do I have to fill in the business profile right away?
You can run the audit without it, but filling it in improves structured data, FAQs and suggestions. It's worth doing up front.